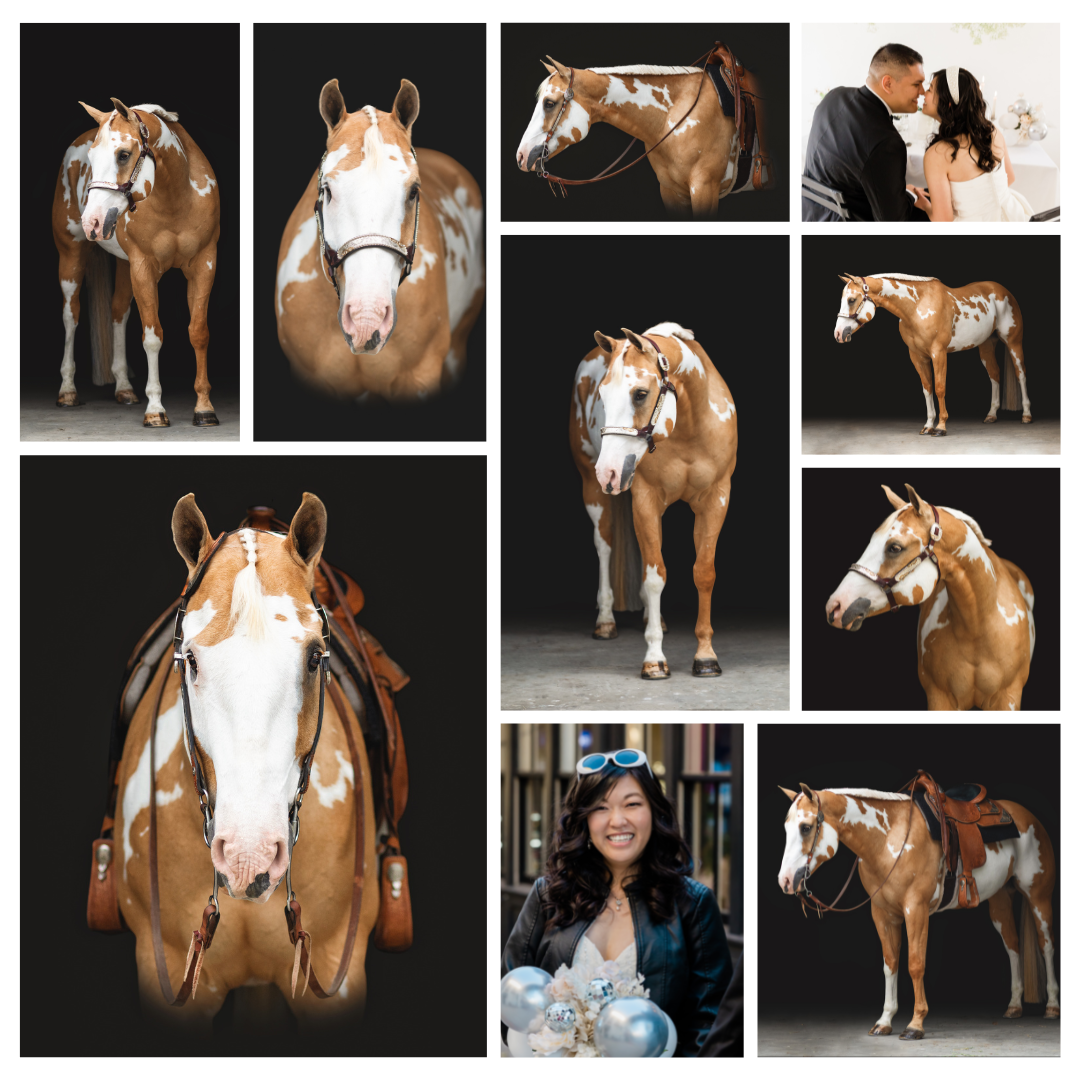
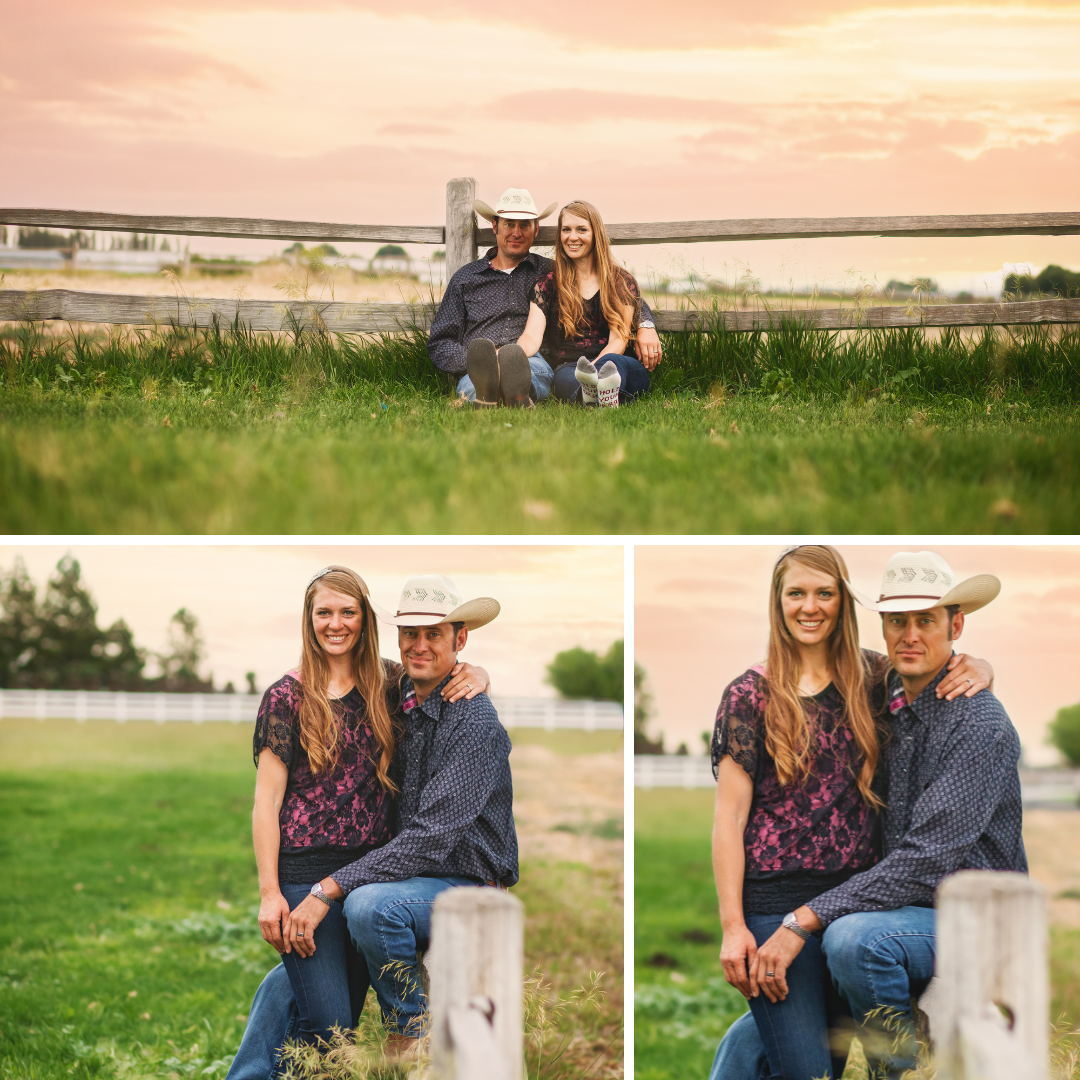
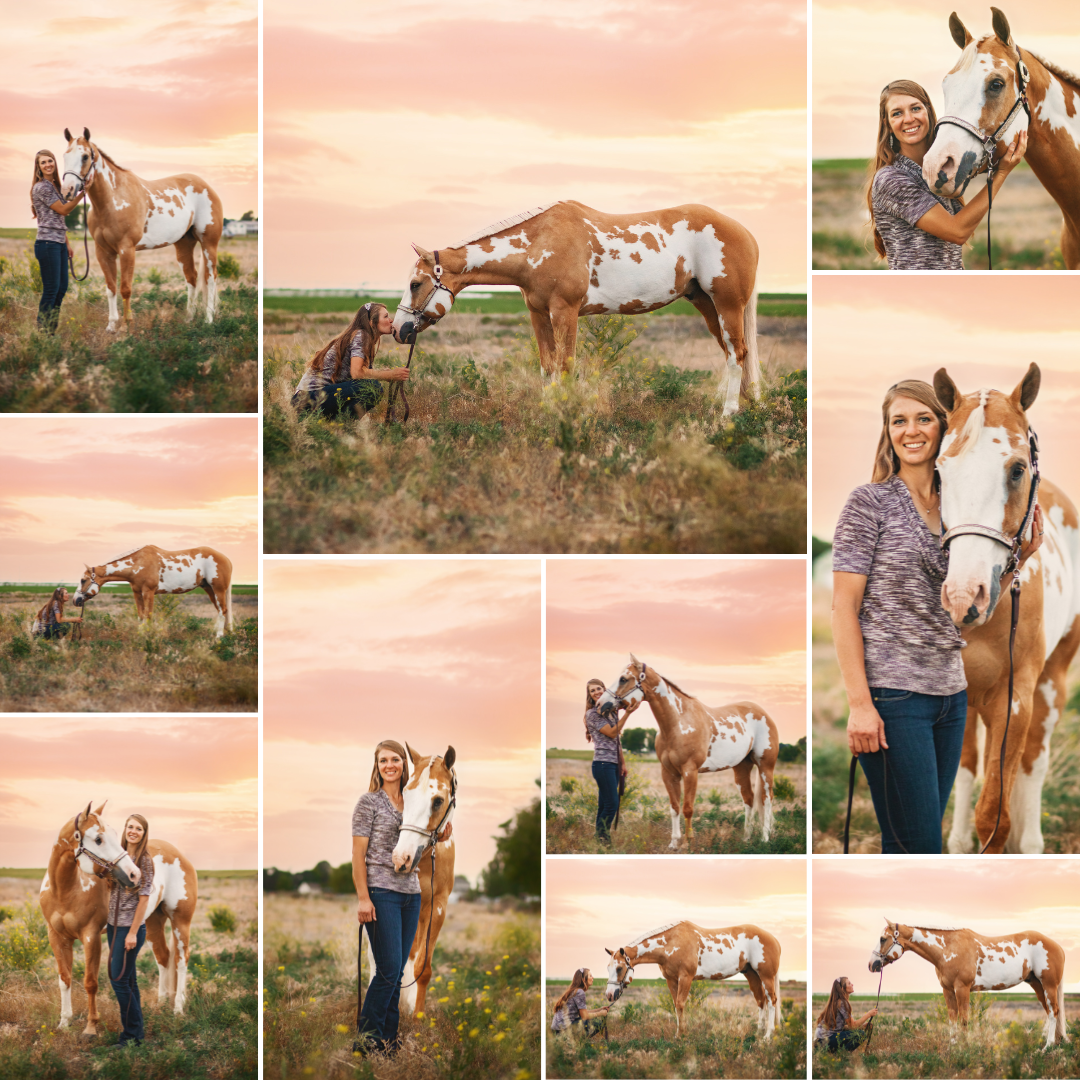
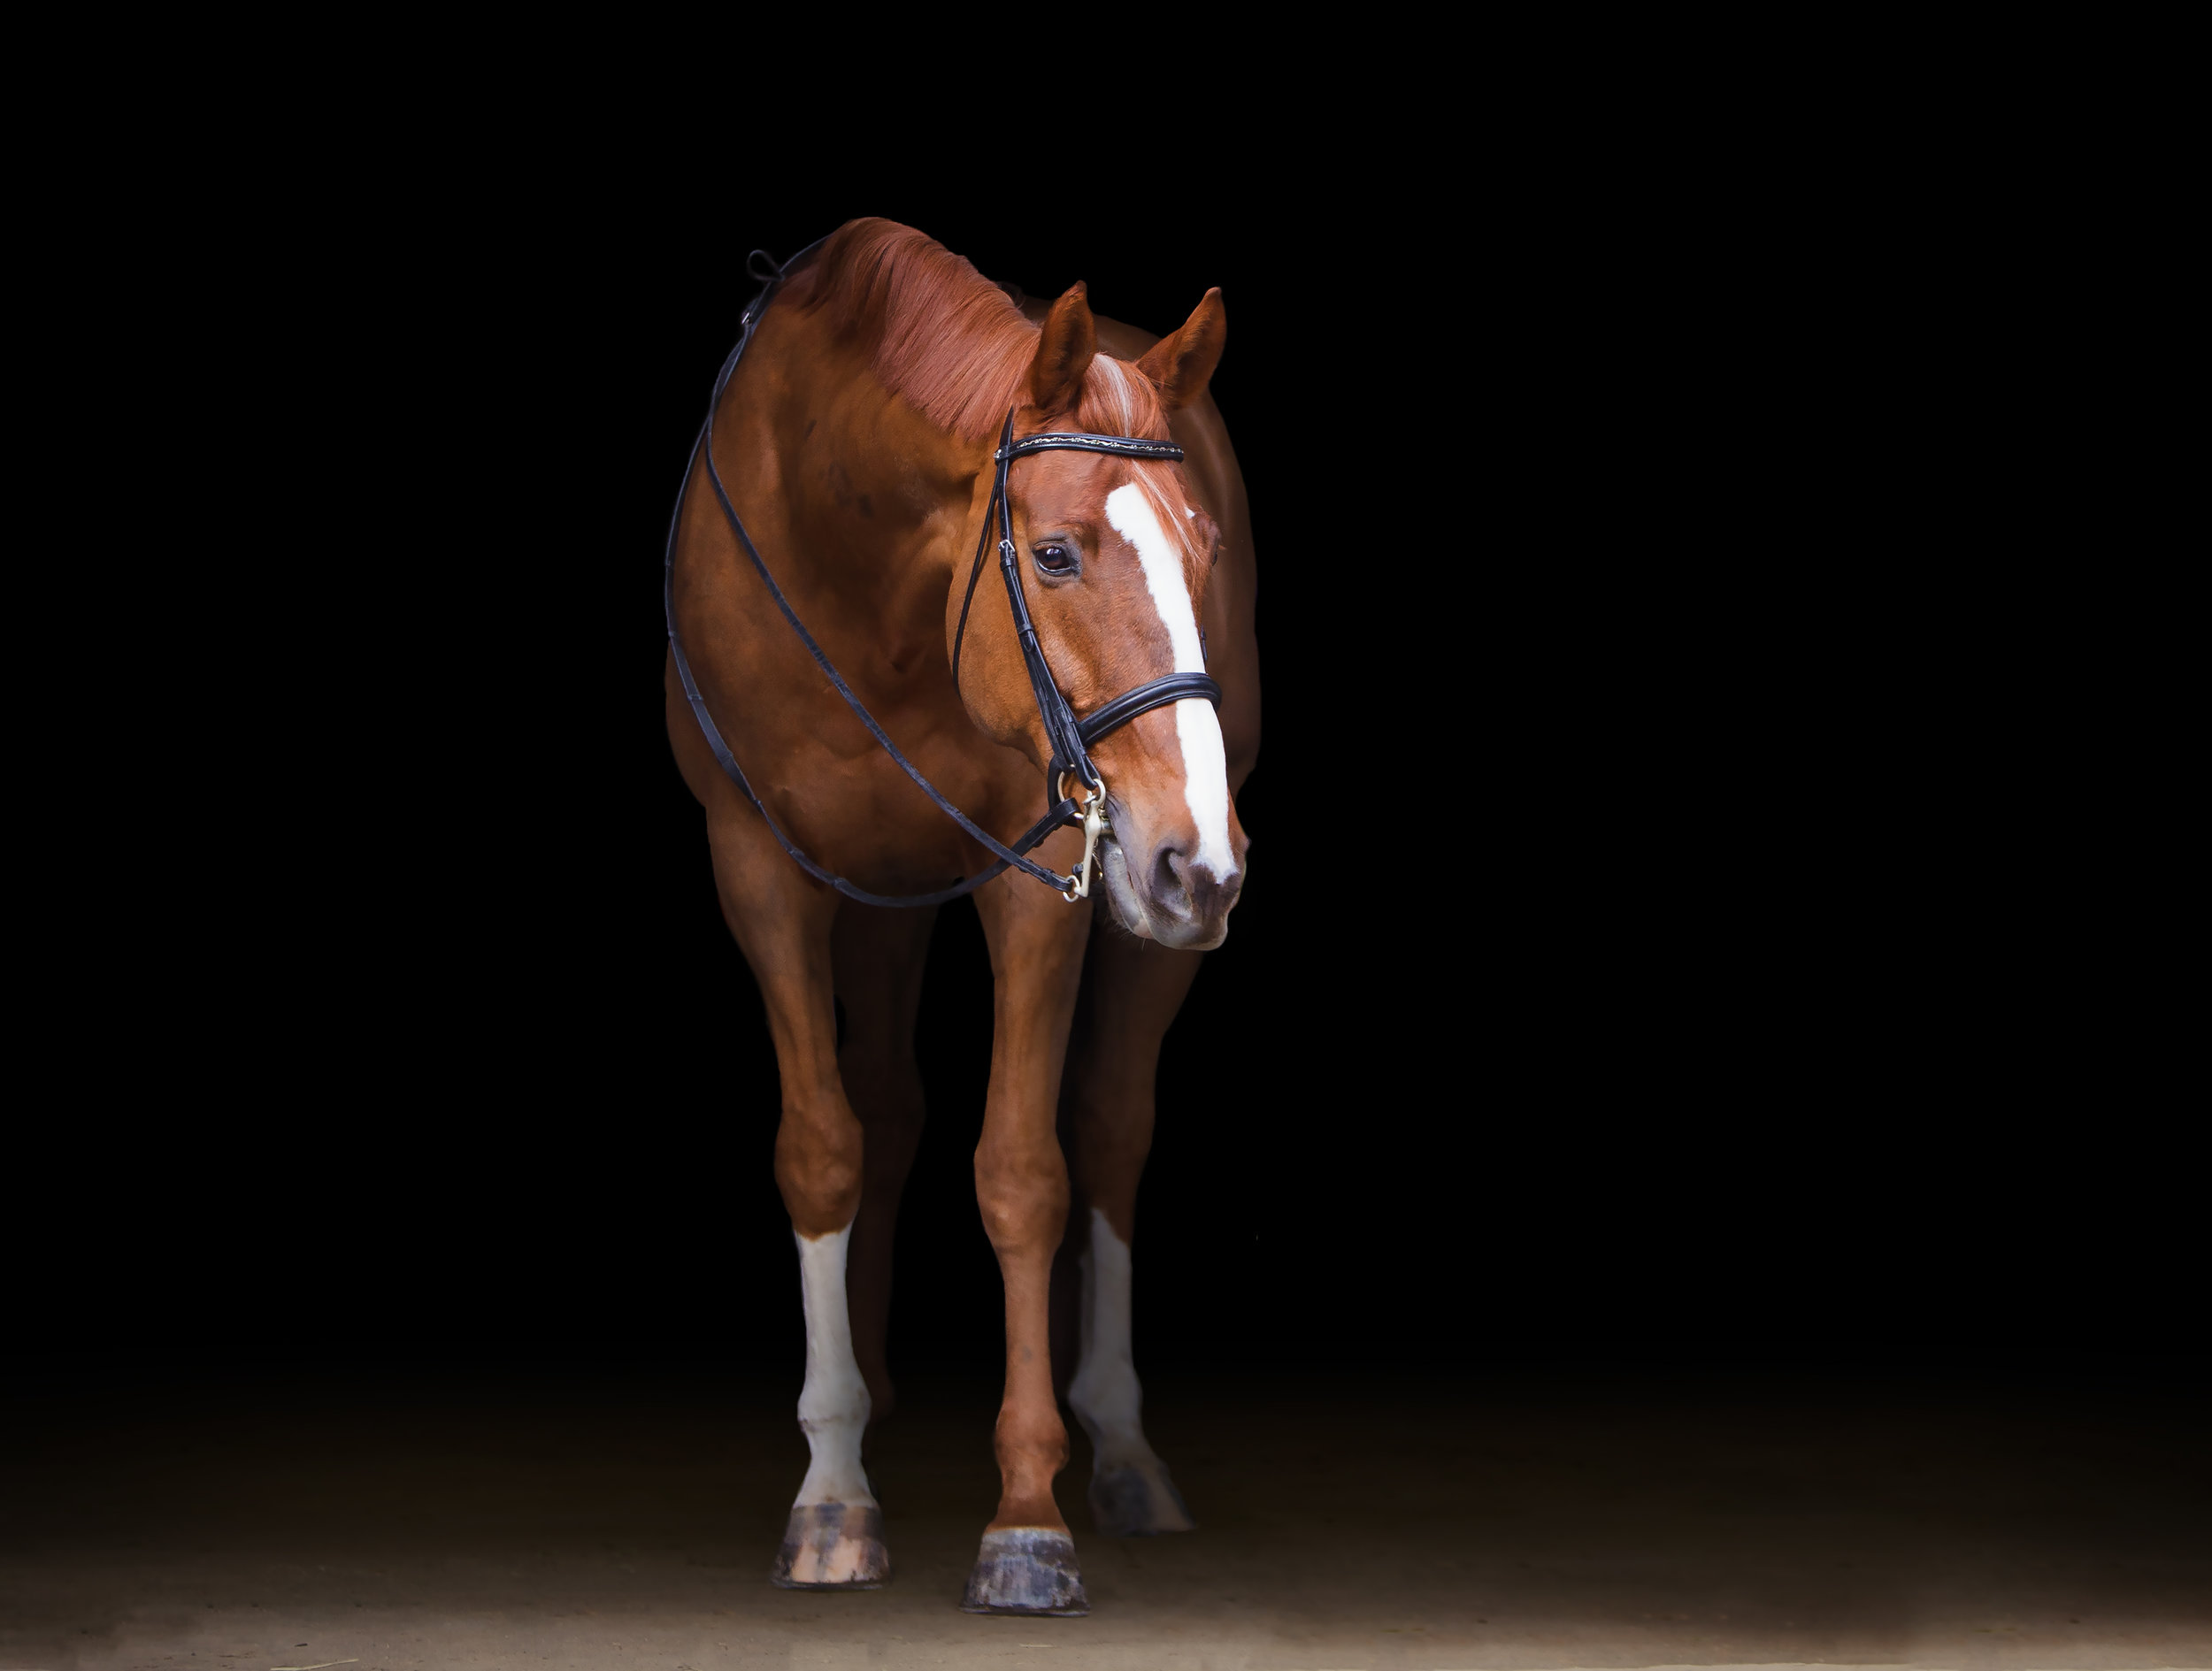
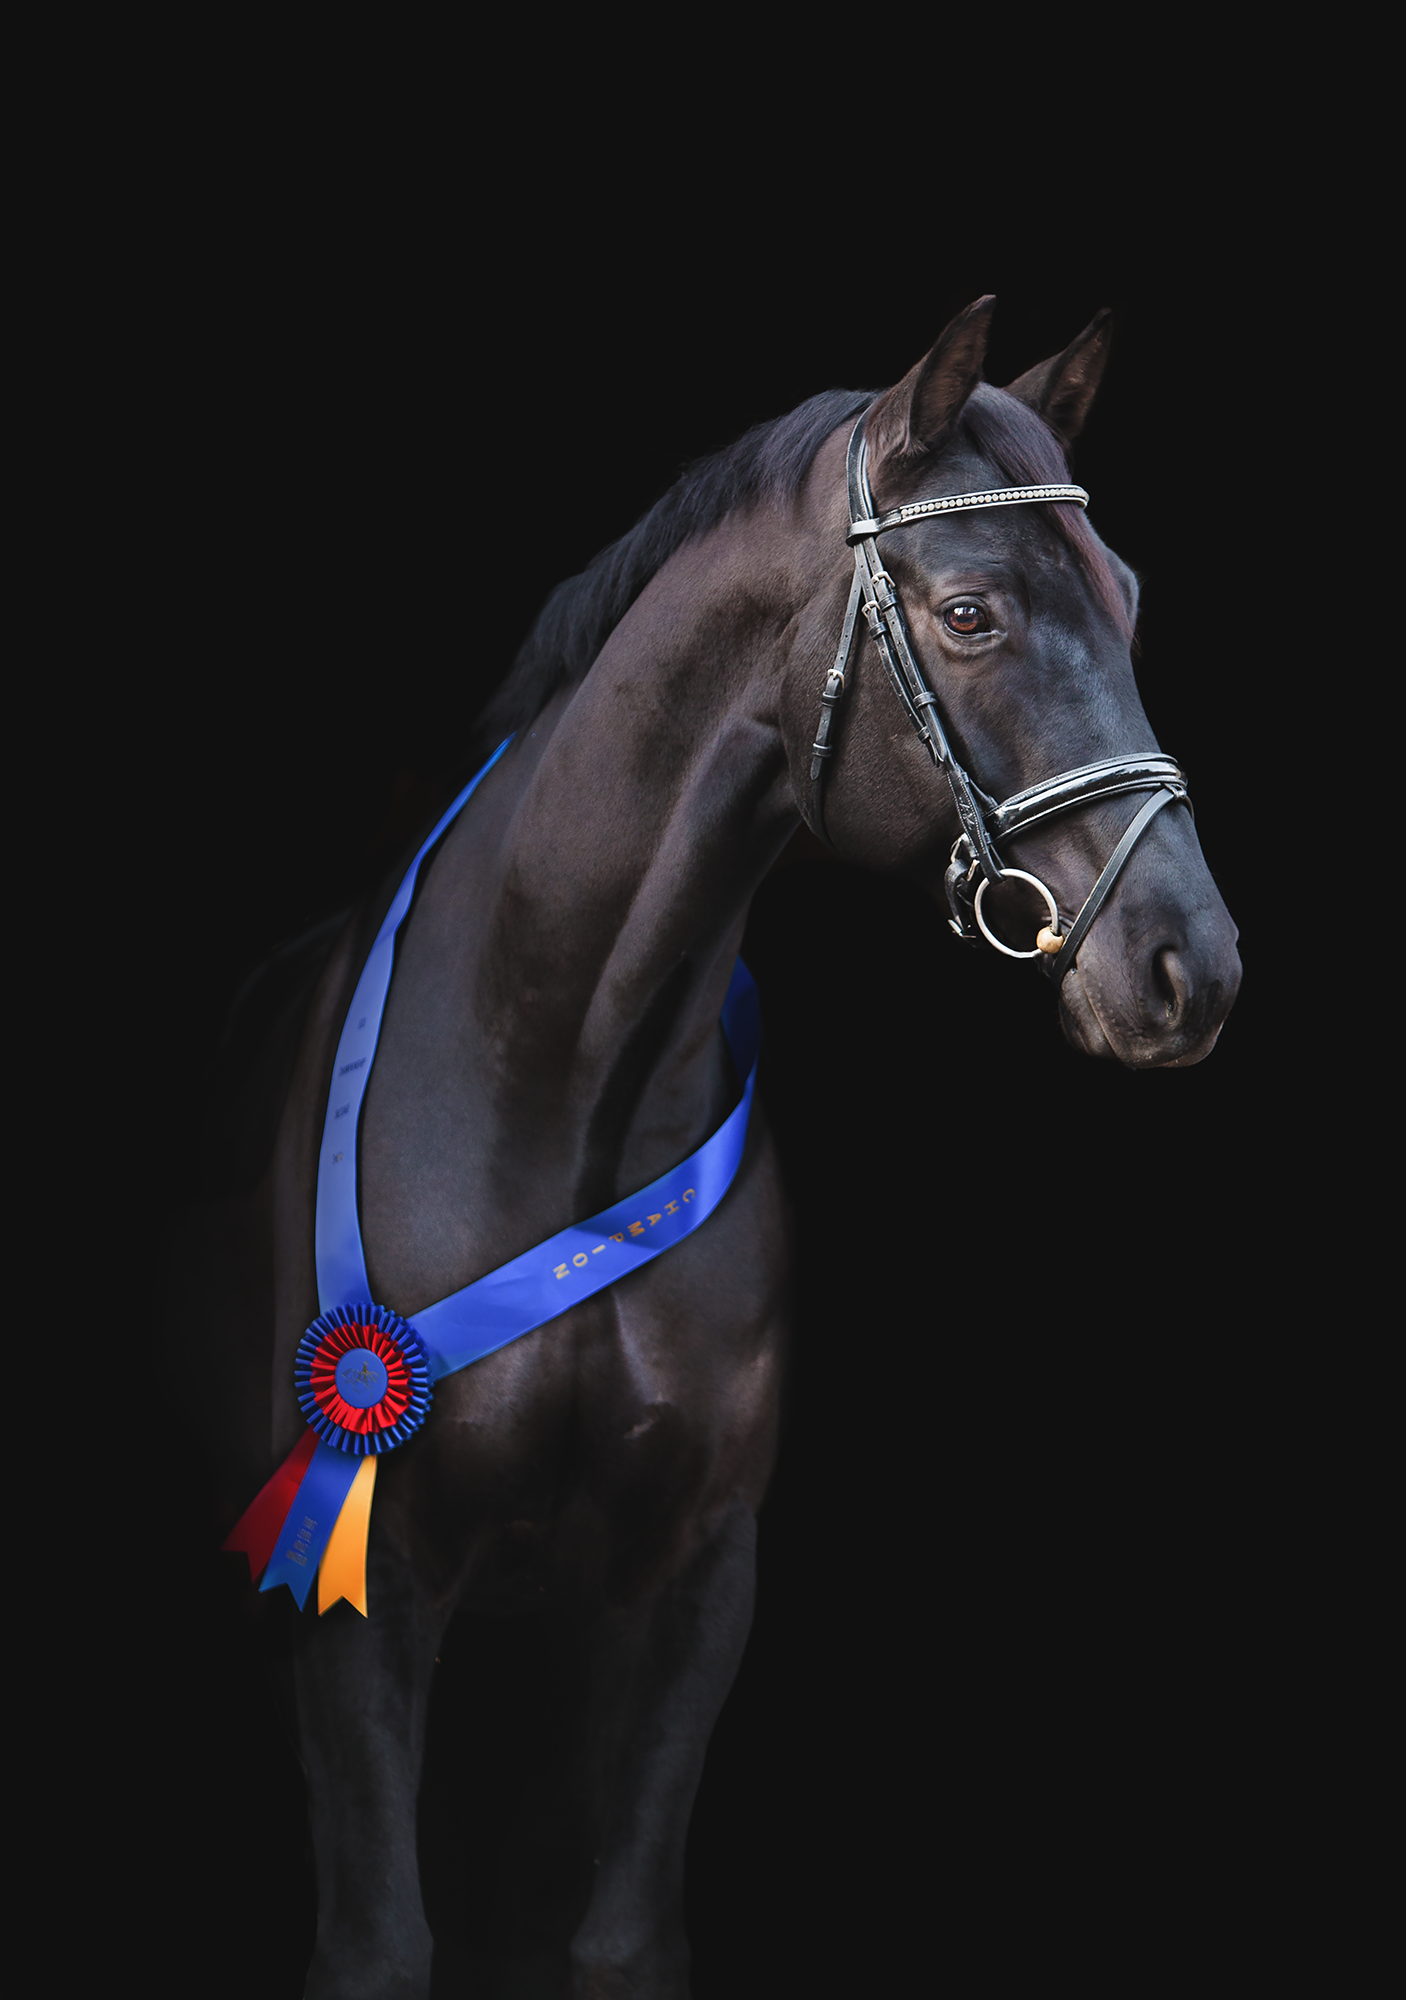
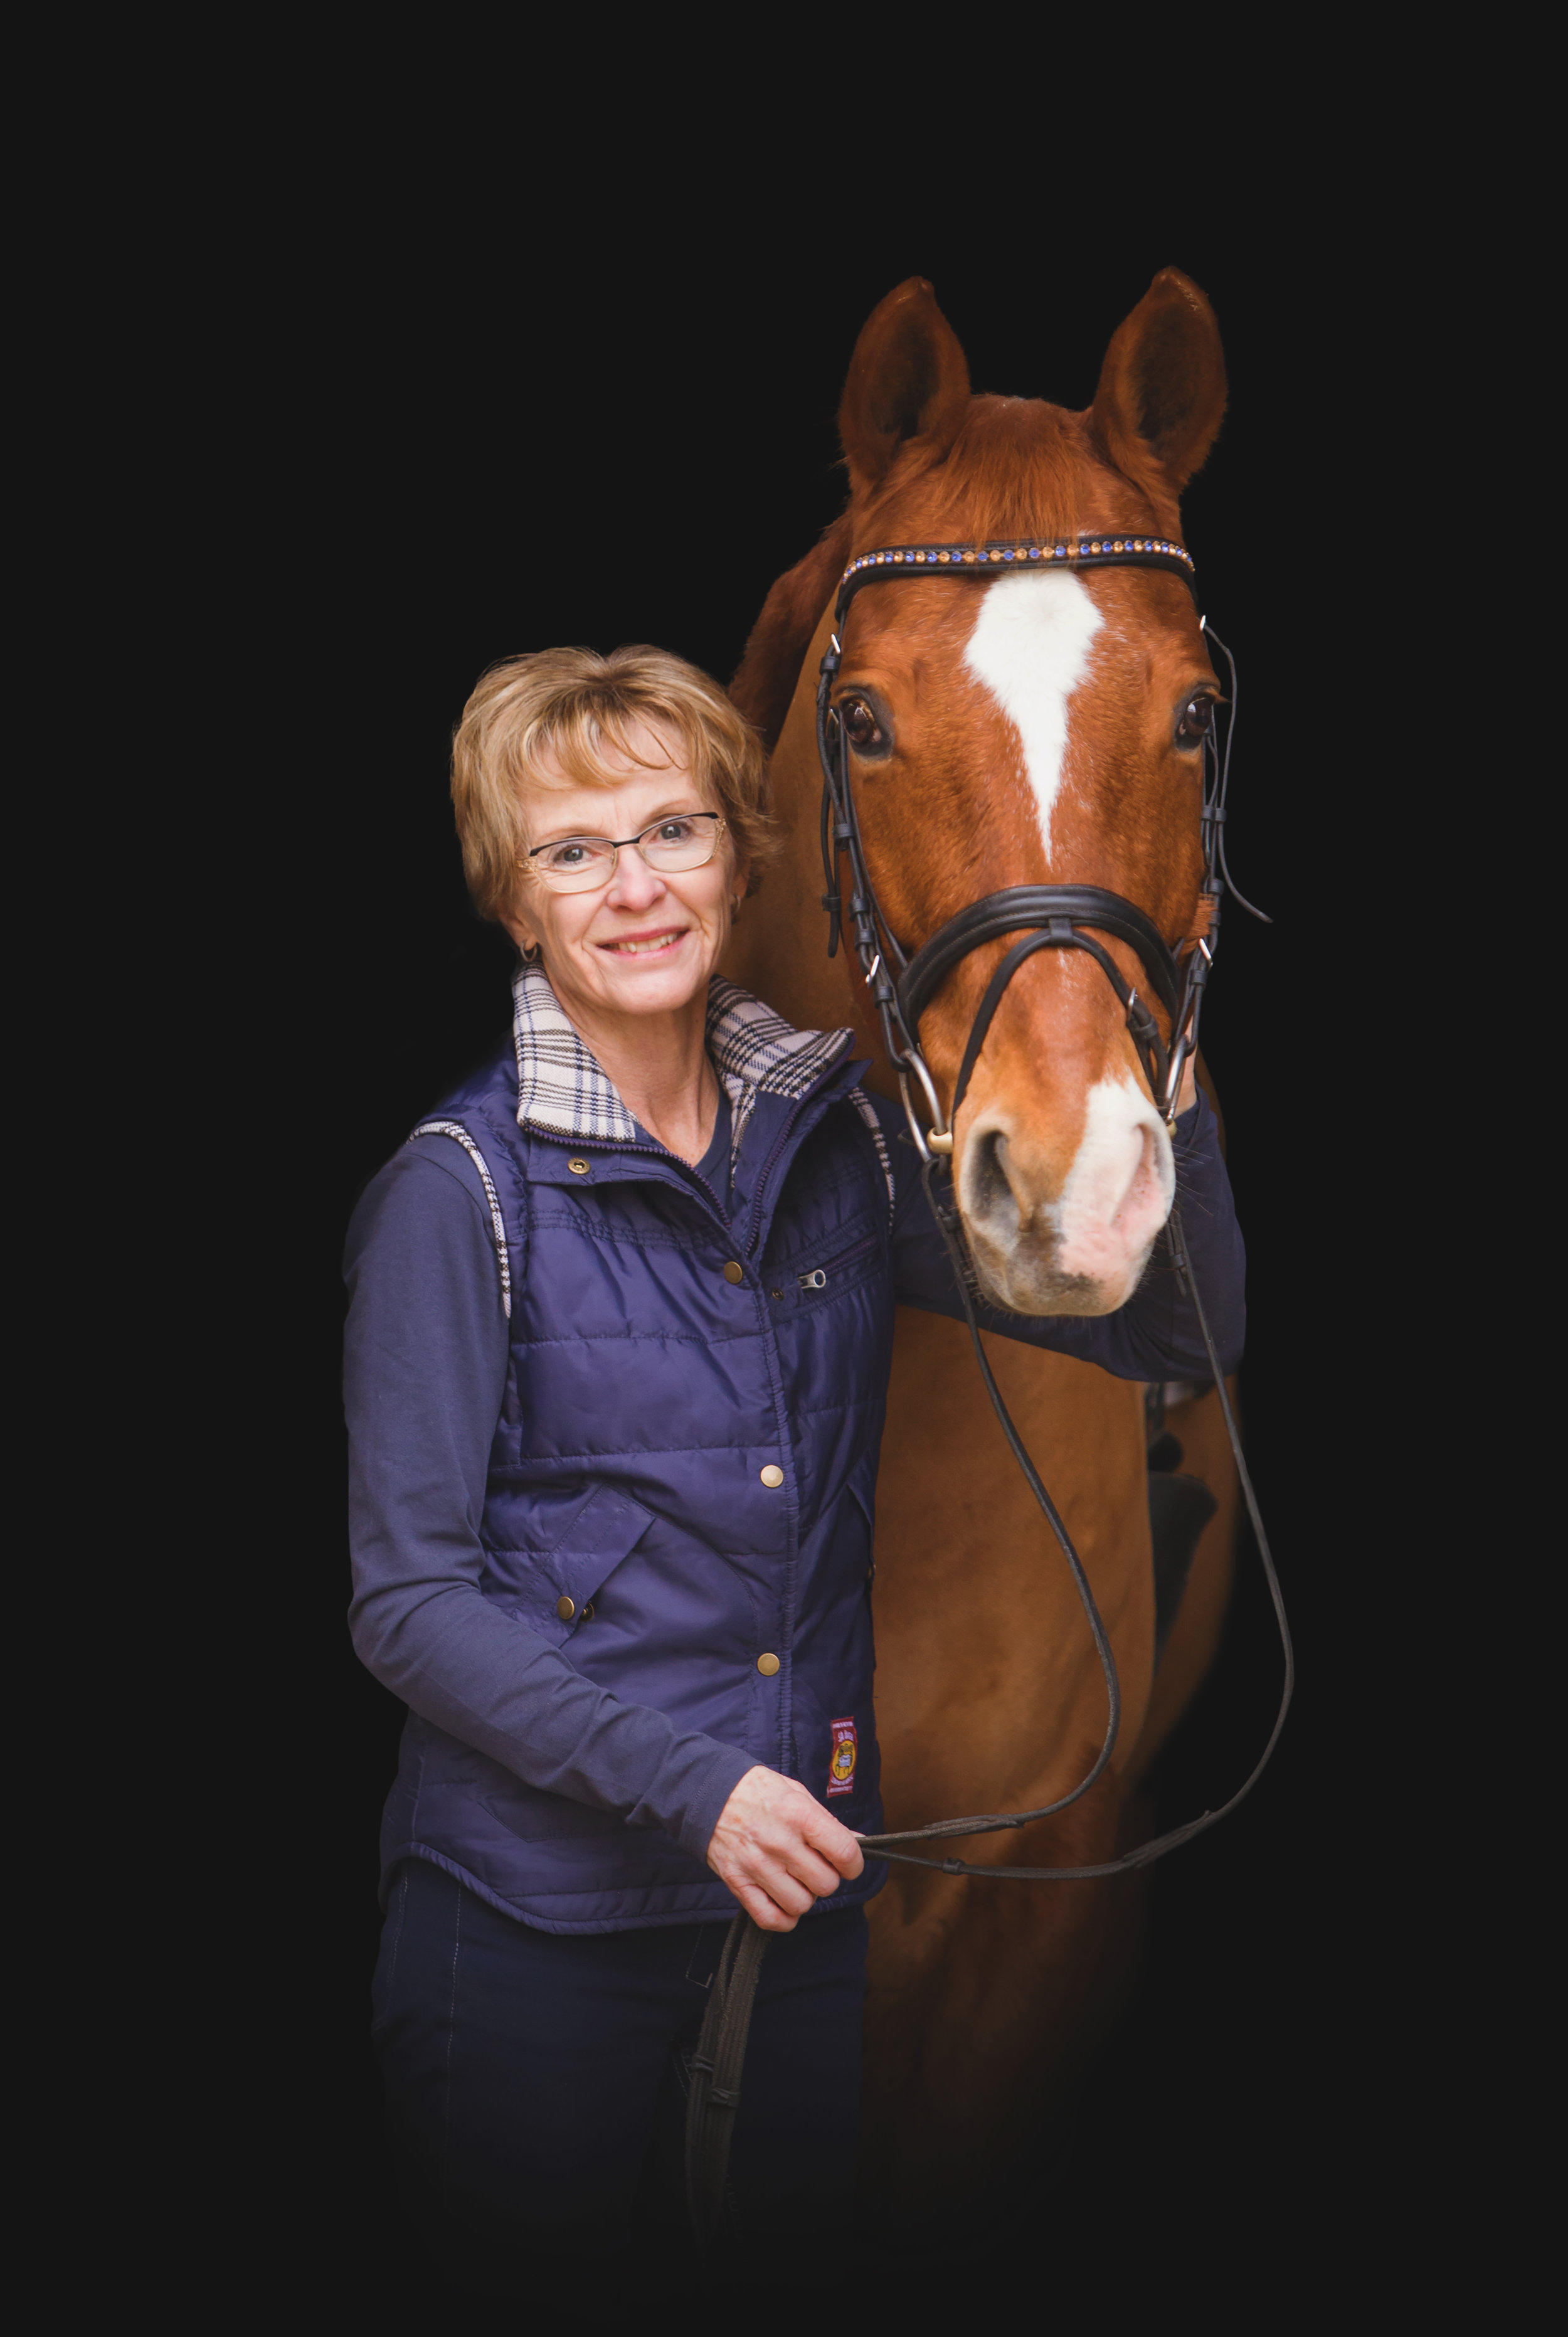
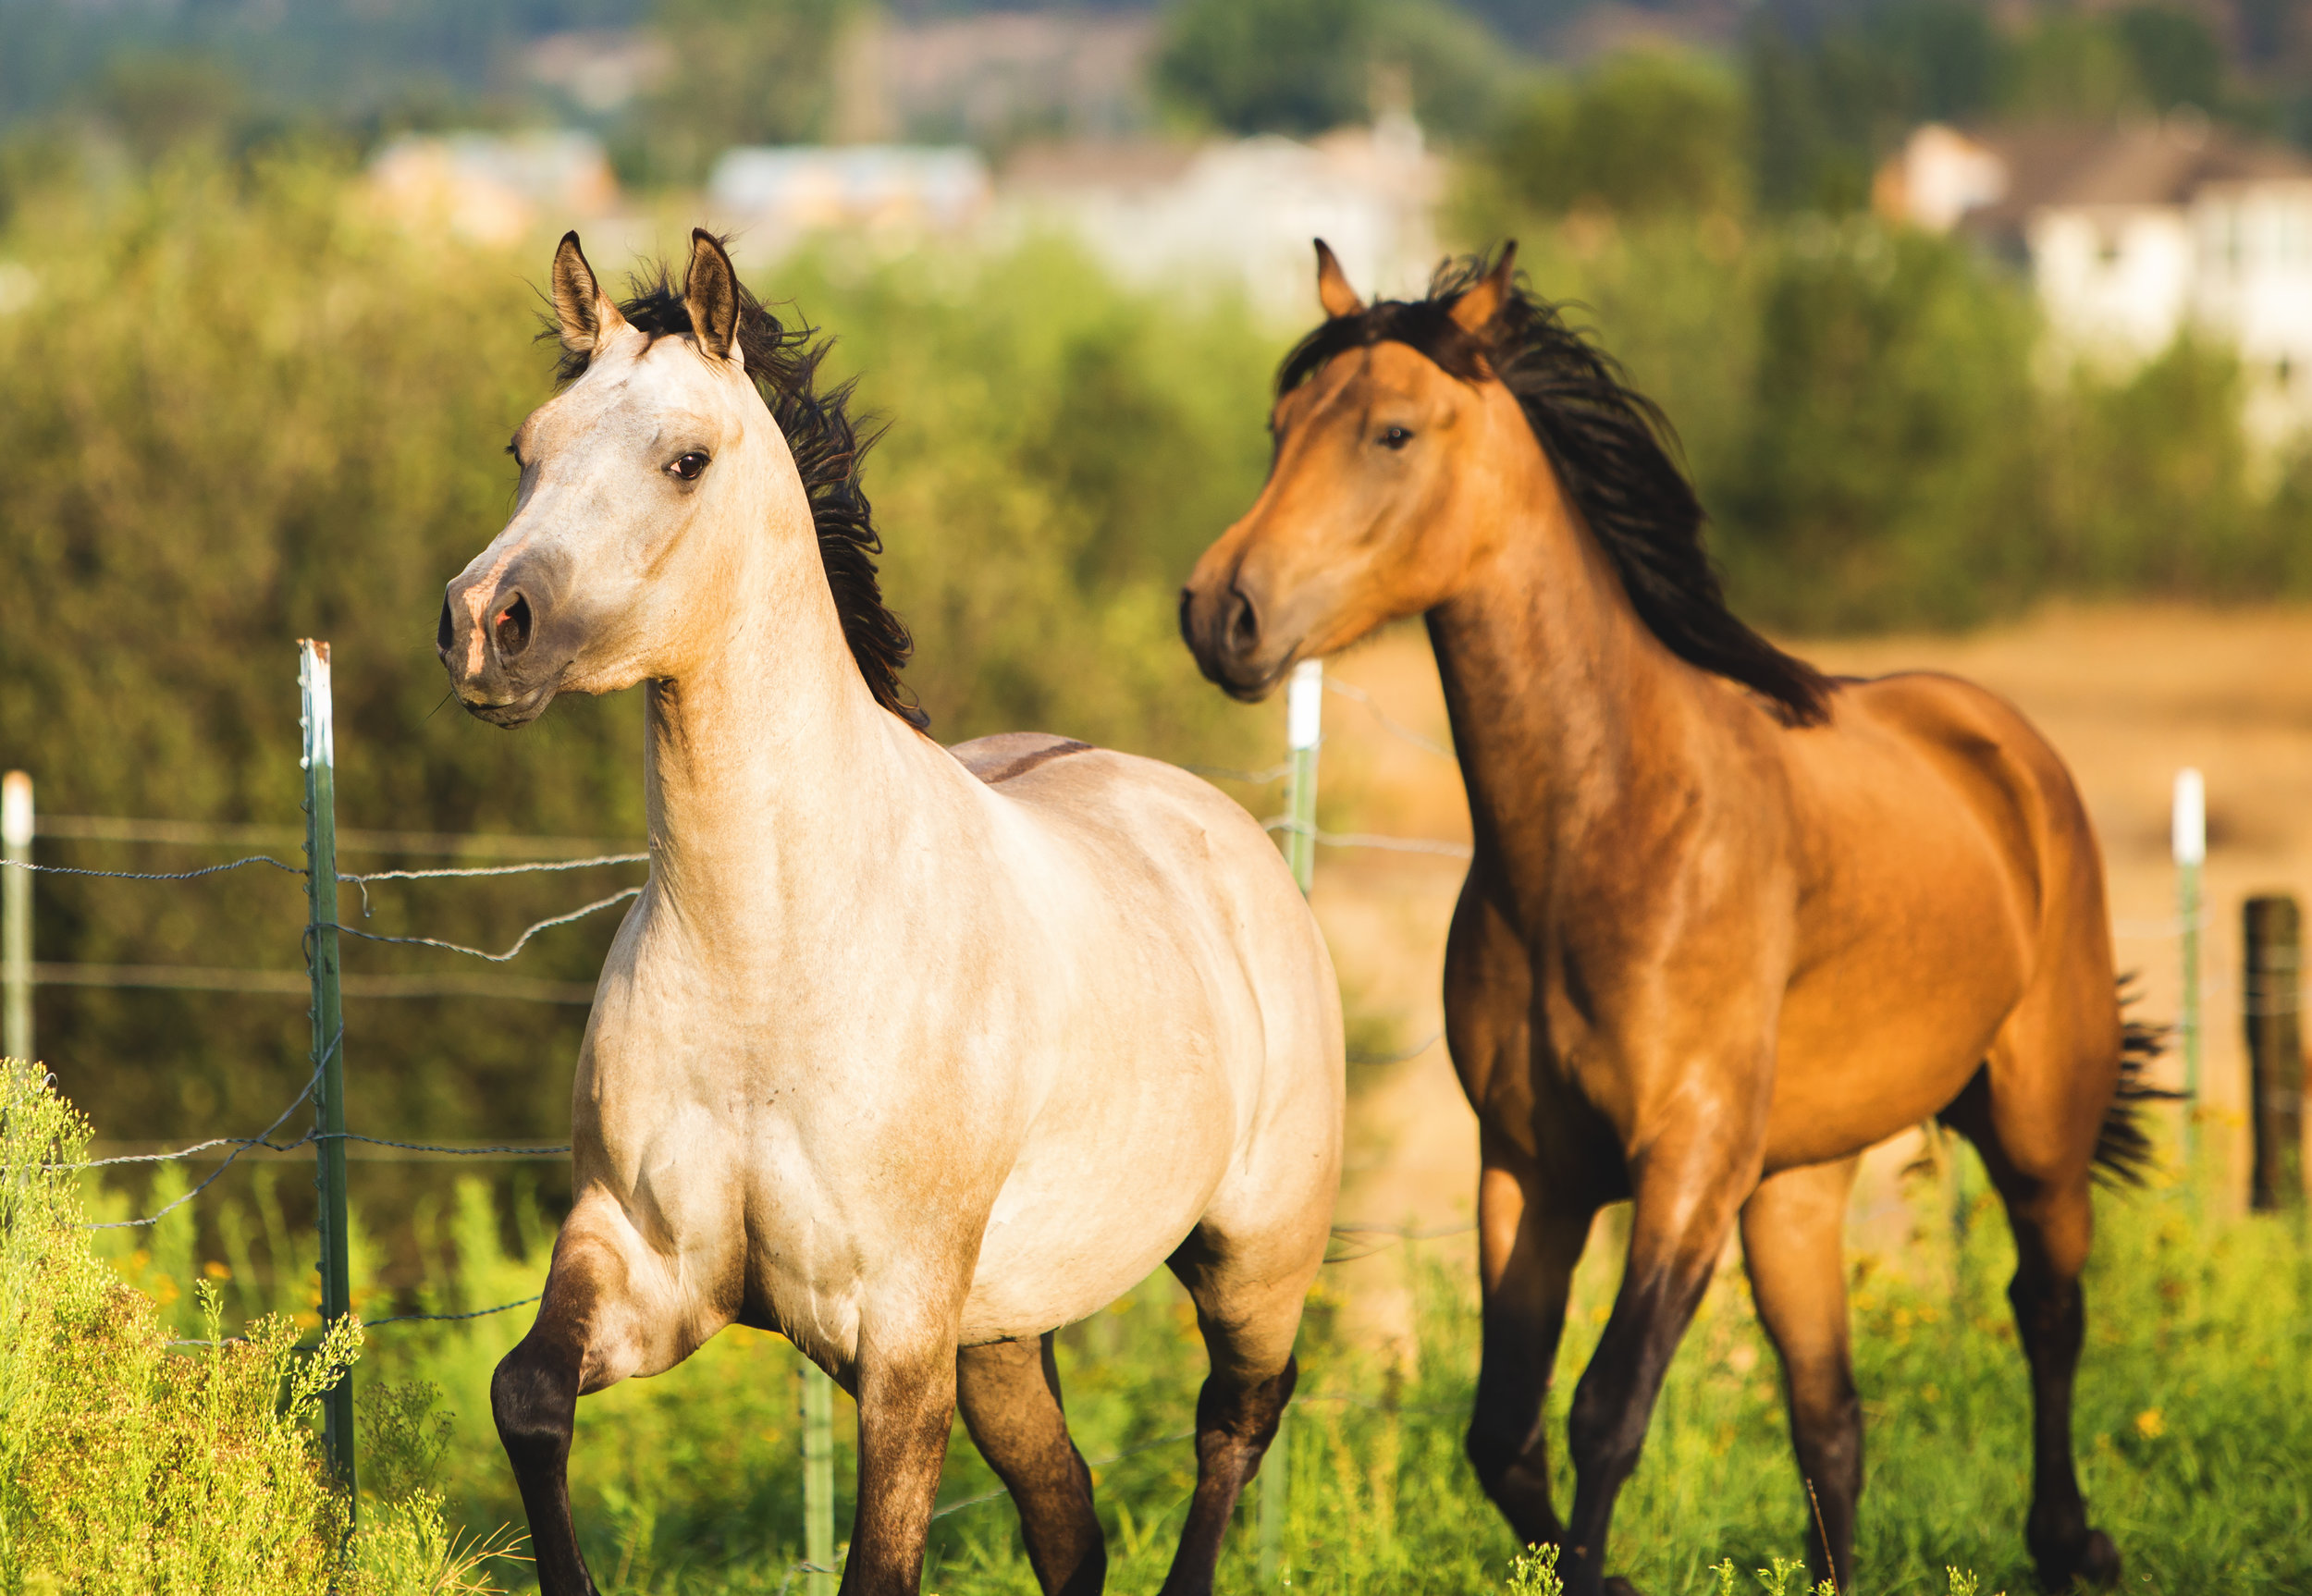
This is an older session, but I just realized that I never shared it, and this little family is too beautiful not to share. They have such a beautiful property and their horses both had such amusing personalities - all of that together put together an absolutely magical session!
What to Expect With Every Session
So, you want to book a session.
As a business owner, I strive to be consistent in my treatment of every session. My biggest goals are to make your experience as simple and personal as possible. Each session is catered to you and your pet or horse's individual needs in order to create the best artwork for you as possible!
The First Contact
When we first make contact, I will work with you to get a good idea of exactly what your dream session will look like. From the type of animal, to how many images you need, this process is treated with utmost transparency to help you select the exact session collection for your needs - no more, no less.
If you have chosen styling or have questions, we will work closely to make sure communication is clear and everyone involved knows what is going on. Ask any and all questions that come up - I am happy to help in any way possible!
The Session
Once we have a session date, location, and other details figured out, it's time to shoot! I (and my assistant if needed) will meet you at the predetermined location. The session time starts precisely at the time we planned to make things as clear as possible, so I recommend planning on being ready to go ten minutes before our scheduled time!
When everyone is present, we shoot! I love and recommend coming with posing and prop ideas if you have something that you just love. Even better if you send me the ideas before the session so I can make sure to work them in!
The Delivery
After our session, I carefully sort and hand edit the images for your gallery. Unless something else has been pre-arranged, typically it is up to my discretion which images are included. Usually, I include at least one of each pose that is flattering and has good lighting.
Payment, if it hasn't been completed at the time of the session, is due any time before images are delivered. Typical turnaround time during most times of the year is up to four weeks; please let me know before the session if you need a different timeline.
When the images are completed, the gallery will be sent to your email address. They will be in a simple, user-friendly gallery where the included digitals can be downloaded, and any desired prints or products may be purchased. Remember, the digitals provided are for your personal use, though commercial usage may be purchased from the gallery. Don't forget, I offer a complementary design appointment to help you find the perfect products for your wall or album!
As always, if you have any questions or requests, please do not hesitate to reach out! I am here for YOU and your dream session, and I want you to love every minute!
- Liz, Photographer at Elizabeth Knight Photography
Add Pop to Your Images with Sky Overlays
Make your image stand out with a sky overlay.
Sometimes, you catch a beautiful image, but in order to expose the subject correctly, the surrounding area gets over exposed, which causes the sky to get blow out. One of the best ways to boost the "wow" factor of the images is to add a sky overlay. Below is the image I will be working with.
Step One: Open your image in Photoshop and find a sky overlay you would like to use. Make sure the light matches the image well. For this image, the light is very soft and slightly warm. If I did a sunset or a bright blue sky alone, it would look unnatural. Instead, I chose a blue sky with a little bit of sunlight in the corner. Make sure the source of the light on the overlay, if there is one, matches the direction of the light on the image.
Step Two: Once you have chosen your sky overlay, open it in Photoshop, and drag and drop it onto your original image. Select "Edit", and go down to "Free Transform" to resize the overlay to cover the blown out sky, as shown below.
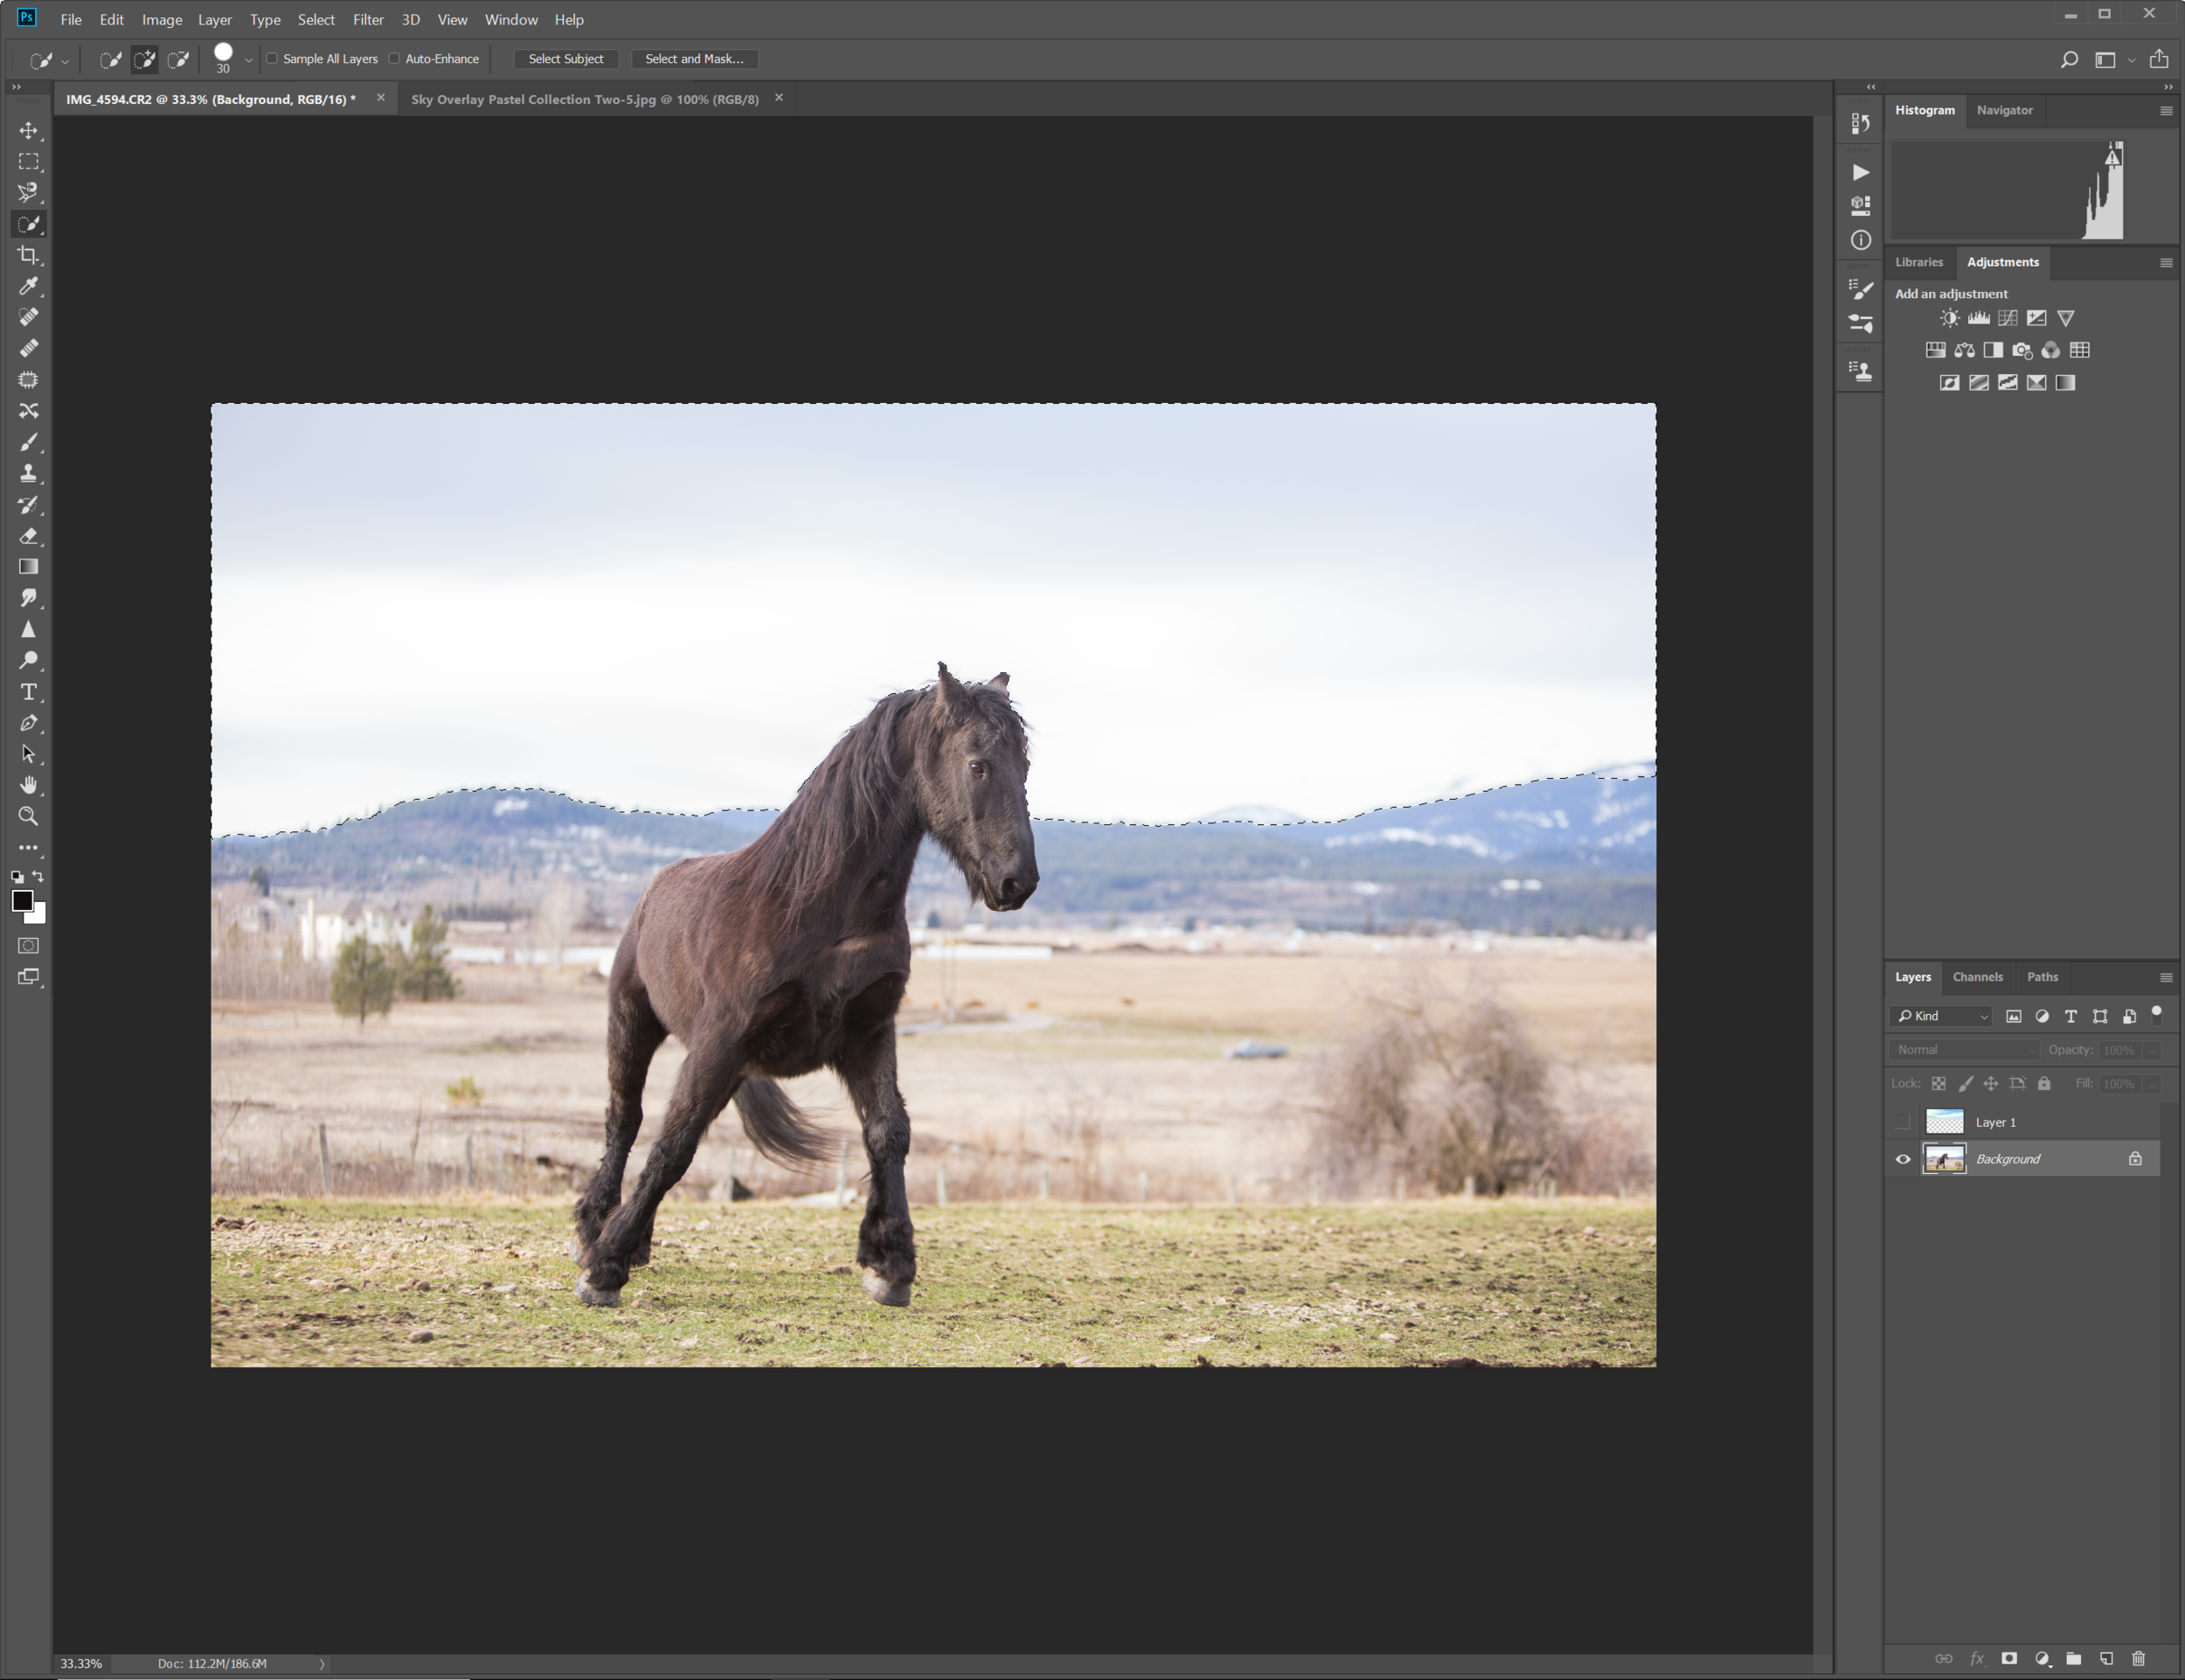
Step Three: Hide the sky overlay layer by clicking the eyeball symbol on the layers panel. Select the original image in the layers panel, and go to the "Quick Selection" tool. Hold your mouse down and drag slowly over the blown out sky until the entire sky is selected. Don't worry if the selection includes a little bit of extra content, you can take care of that later. Below, you can see my quick selection, and then again with the sky layer showing.
Step Four: Make the sky overlay layer visible again. You will see the dotted line of the selection on the sky layer, as seen below. Once that all looks good, select the sky overlay layer in the layers panel, then click the "Add layer mask" button at the bottom of the layers panel (the box with a dot inside). There will be a new layer mask created, and your sky will be decorationg your image beautifully. Below are my results.
Step Five: Now to make it more realistic. These next steps are a little bit flexible to each image; play with it to see what looks best. First thing is to add some blur to the sky. Notice the rest of the background below the sky is blurry due to depth of field. Our sky needs to match that. Make sure the sky overlay layer is selected. Then go to "Filter", hover over "Blur", and click "Gaussian Blur". Make sure the "Preview" box is checked so you can see how much the sky is being blurred. Adjust the radius until the blur matches the rest of the background. Below, you can see what happens if I blur the sky too much (30.4 radius). There is a strange glow around the horse. With blur, a little goes a lot way. I settled on 7.4 - it's enough to smooth out the horizon line, but not enough to cause that strange glow.
Step Six: If needed, take a moderately soft, black brush (about 50% hardness) to brush off the sky from details that accidentally became covered. Make sure you have the layer mask on the sky selected when you are doing this, as it is above (indicated by the white box around the thumbnail). I'm going to use mine to clean up the ears a touch and remove a bit from the mountains on the right, where the selection took over the edge of them.
Step Seven: Lastly, adjust the opacity of the sky overlay layer by using the opacity bar in the layers panel. Lower the opacity until the colors match well with the rest of the scenery and it looks natural. I settled on 82%, as you can see below.
Step Eight: Merge the layers before continuing with your editing as normal. That way, it will be treated like the edited sky is part of the original image. The last image below is my finished product.
Liberty Grove Farms Portrait Days
Liberty Grove Portrait Days.
Back in the beginning of December, I got the opportunity to put on one of the most amazing set of portrait days yet. Over the course of two days, I photographed several of truly the most incredible horses and riders I have had the privilege of being around. Please enjoy some favorites from these magical two days - I know I do!
Jenny & Merissa's Summer Beauties
There was so much summer lovin’ during this session.
Jenny's Lovelies
In August, I had the incredible pleasure of photographing this group of horses for the third time for the first session of the morning. If you have seen the bay filly pictures I did back in April of 2016, or the group I did in the snow of January 2017, then you have seen some of the pictures I have been more than privileged to capture for this beautiful horse woman. Seeing that little filly from April of last year grow into the lovely little mare she is now was a great experience. Add the newest member of the herd, the chestnut gelding, and we were set up for an excellent morning of shooting! P.S. if you ever have needed a reason to consider early morning shoots - let this one be it. Enjoy a few favorites!
Merissa's Beauties
My second session of the morning was with these two - one an AQHA gelding, and the other a Friesian cross mare, with a little bit of their canine brother thrown in at the end. They had a ton of personality, and kept me laughing the whole time! I am struck by their beauty every time I look at their finished images. I truly enjoyed my time with them, and I hope you love the results.

