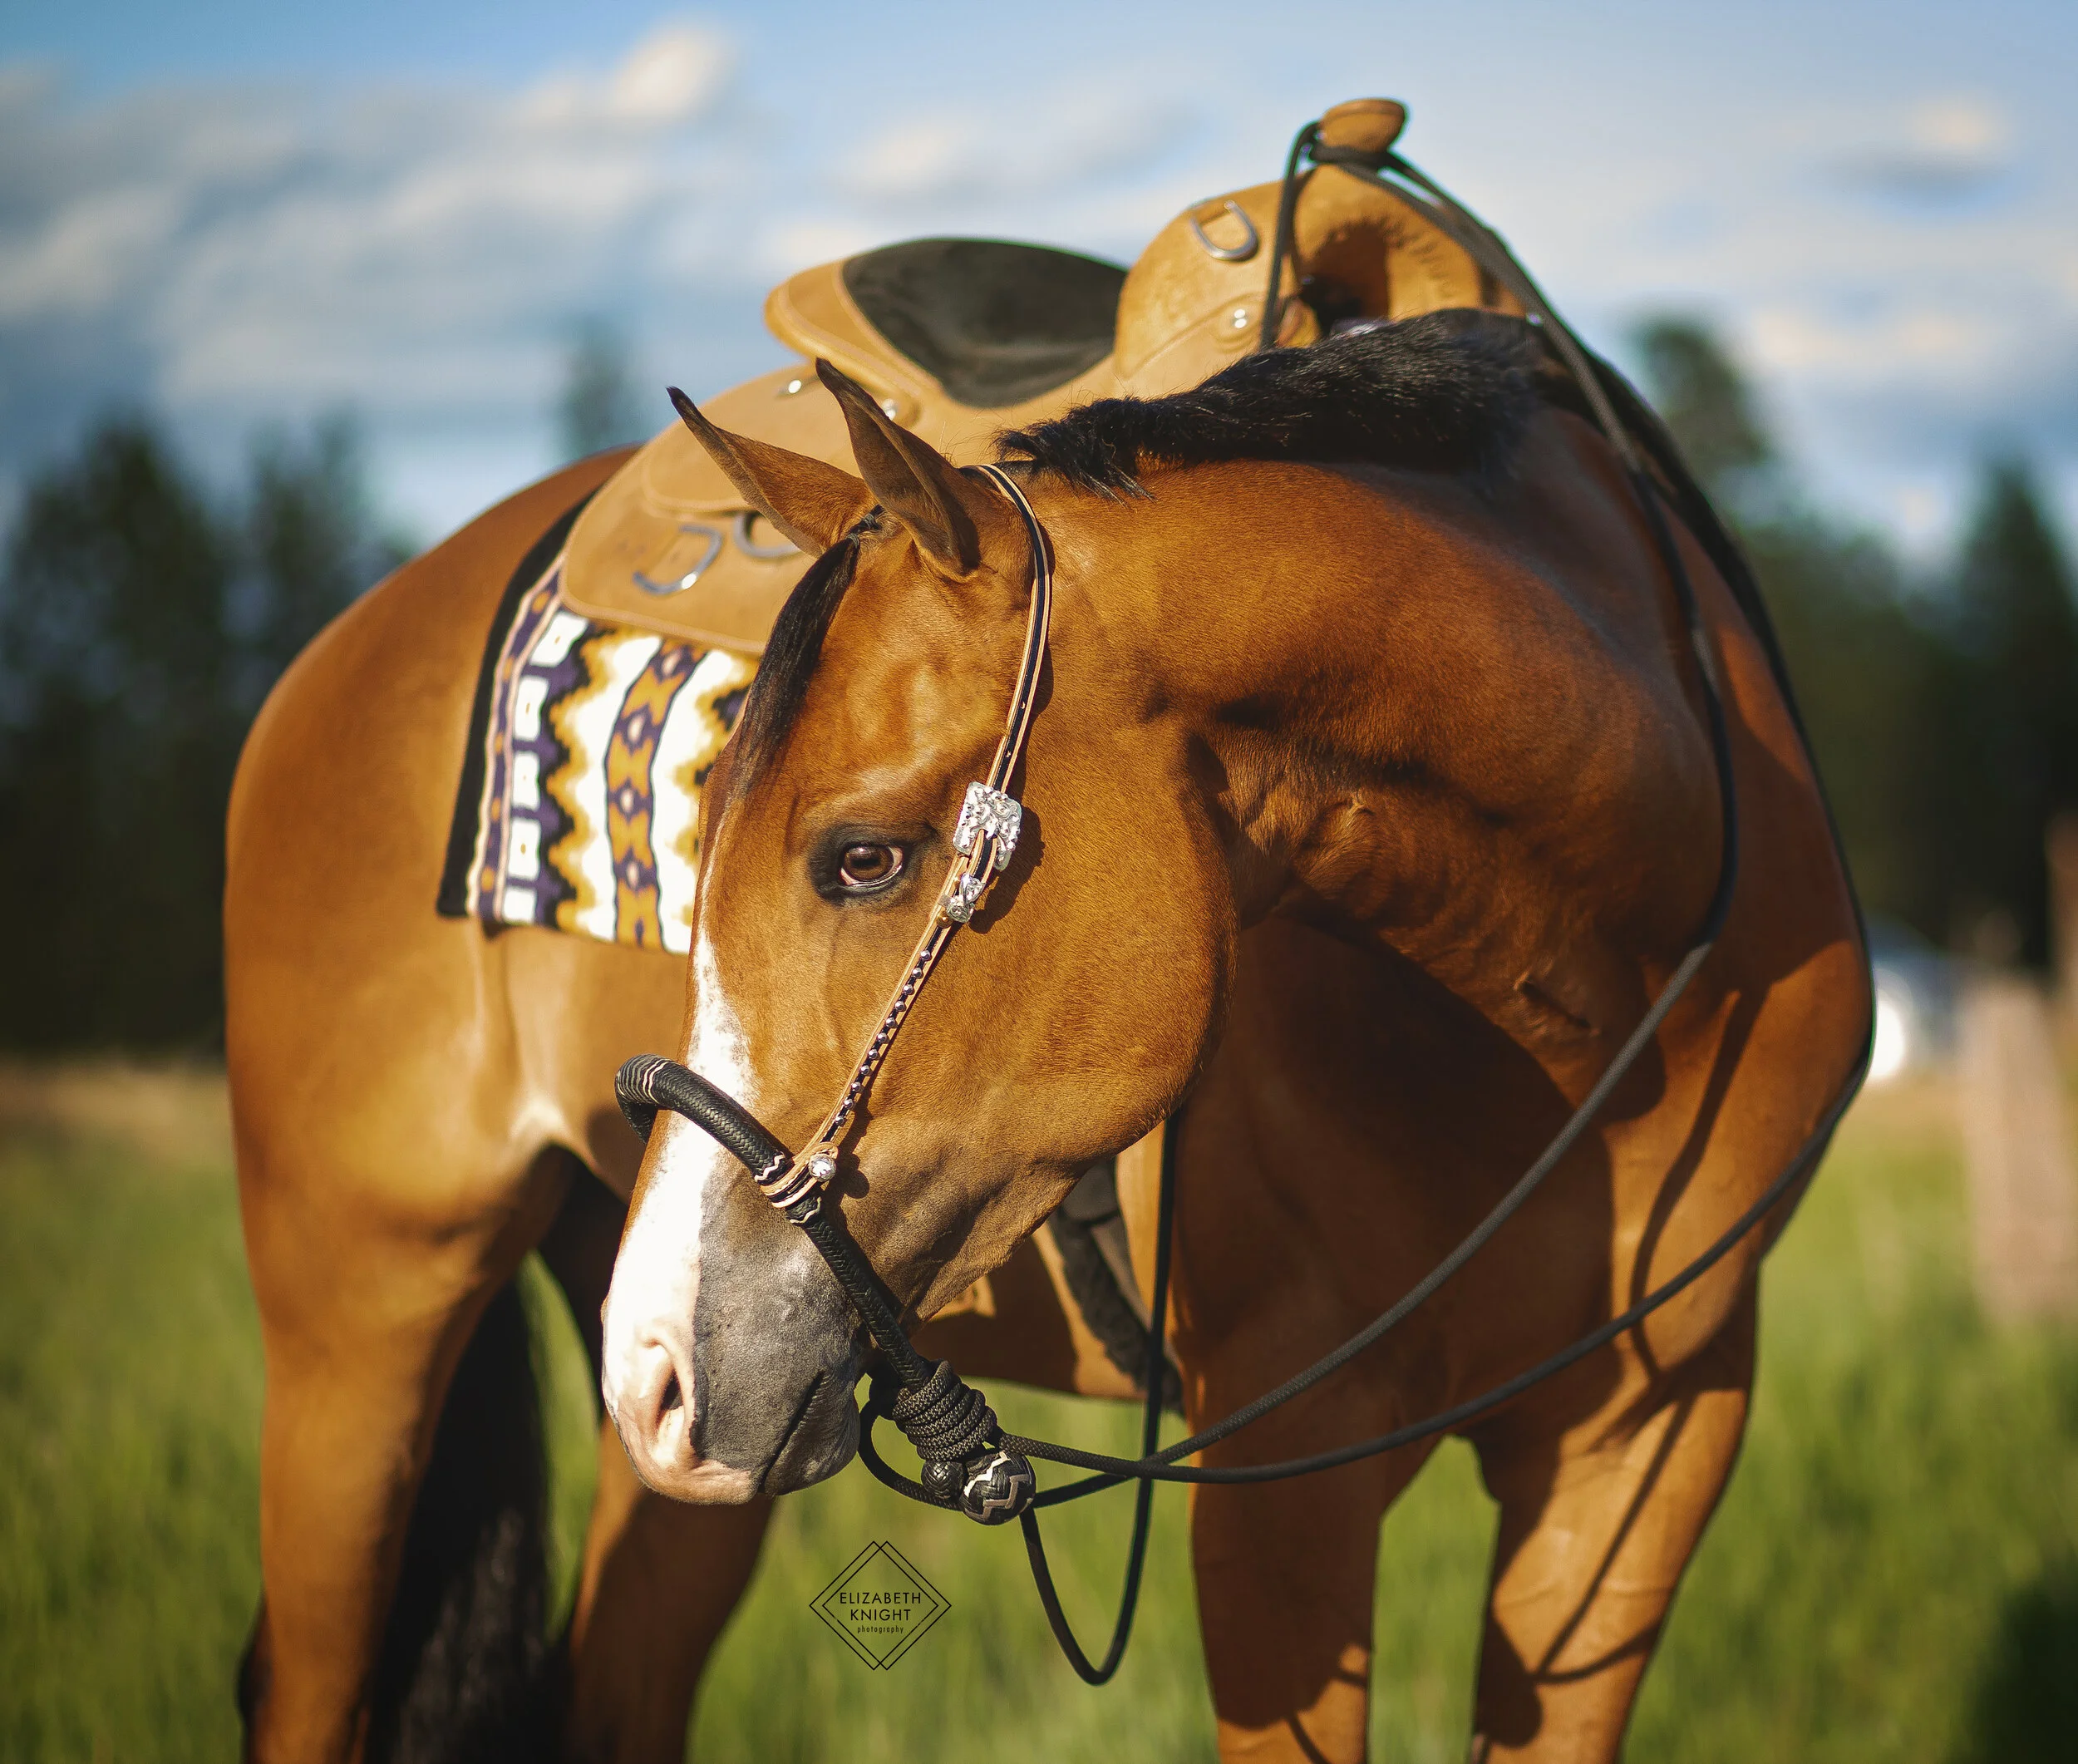
Professional photos are great, but what about capturing your every day life?
The difference between a good photo and a great photo is in the details, so here are a few tips on how to use light to help you make your next impromptu photo session the best yet!
Disclaimer: all art is subjective, and photography is no exception.
I have been in the business long enough to know that everyone has their own style of how they take photos. Some people love soft, morning light, some like dramatic shadows and black and white edits, some do a mix of it all. There is no right or wrong way to do it, and I am not writing this to tell you the best way to take a photo. However, I hope you can use these tips in order to get the style you are looking for, whatever that style may be! All of the photos in this blog are mostly or completely unedited, except for a couple that you can see have obviously had some magic done to them.
To start: the difference between a phone photo and a DSLR photo.
Helping us out for the blog are my amazing booth manager, Britt, and her sweet boy, Axton. Aren’t they adorable?
Most of the photos taken in this blog post are taken with my camera, simply because I have the greatest control over settings and color, but here is a quick side-by-side of a couple of photos taken with my camera, and then two similar ones taken with my iPhone X, for comparison:
If you are using a cell phone or a point-and-shoot camera without a lot of control over settings, it is especially important to use your light well.
Next up: different natural light types.
Direct Light
Light is one of the most important parts of taking a great photo. Unless you are specifically going for dramatic lighting, using light in a way that it is distributed evenly takes a photo to the next level.
When you are taking conformation photos or something that needs simple, non-distracting light, facing your subject directly in front of the sun with your back to the sun will create bright, even light, such as in this photo below. This type of lighting is great to use with horses and other animals who aren’t as affected by sunlight in their faces, though of course, you should never encourage them to look directly into the sun.
For humans, direct sunlight can be used, but watch out for squinty eyes, which are so beautifully modeled by Britt below. Super bright, direct sunlight is not all that flattering to the skin, either. This is a large part of the reason that I usually use backlight for portraits with people.
Backlight
If you are looking for a photo that isn’t so bright, you can put the subject with the sun behind them and face the sun yourself, which creates a softer, gentler light on the subject. This is an excellent opportunity to use the sun when it is low in the show to create “sunbursts” - the best time of day to try this is up to an hour after sunrise, and up to an hour before and during sunset. Backlighting, when used correctly, creates beautiful, soft light that is especially flattering to humans. Here are a few examples of this technique:
Partial Light
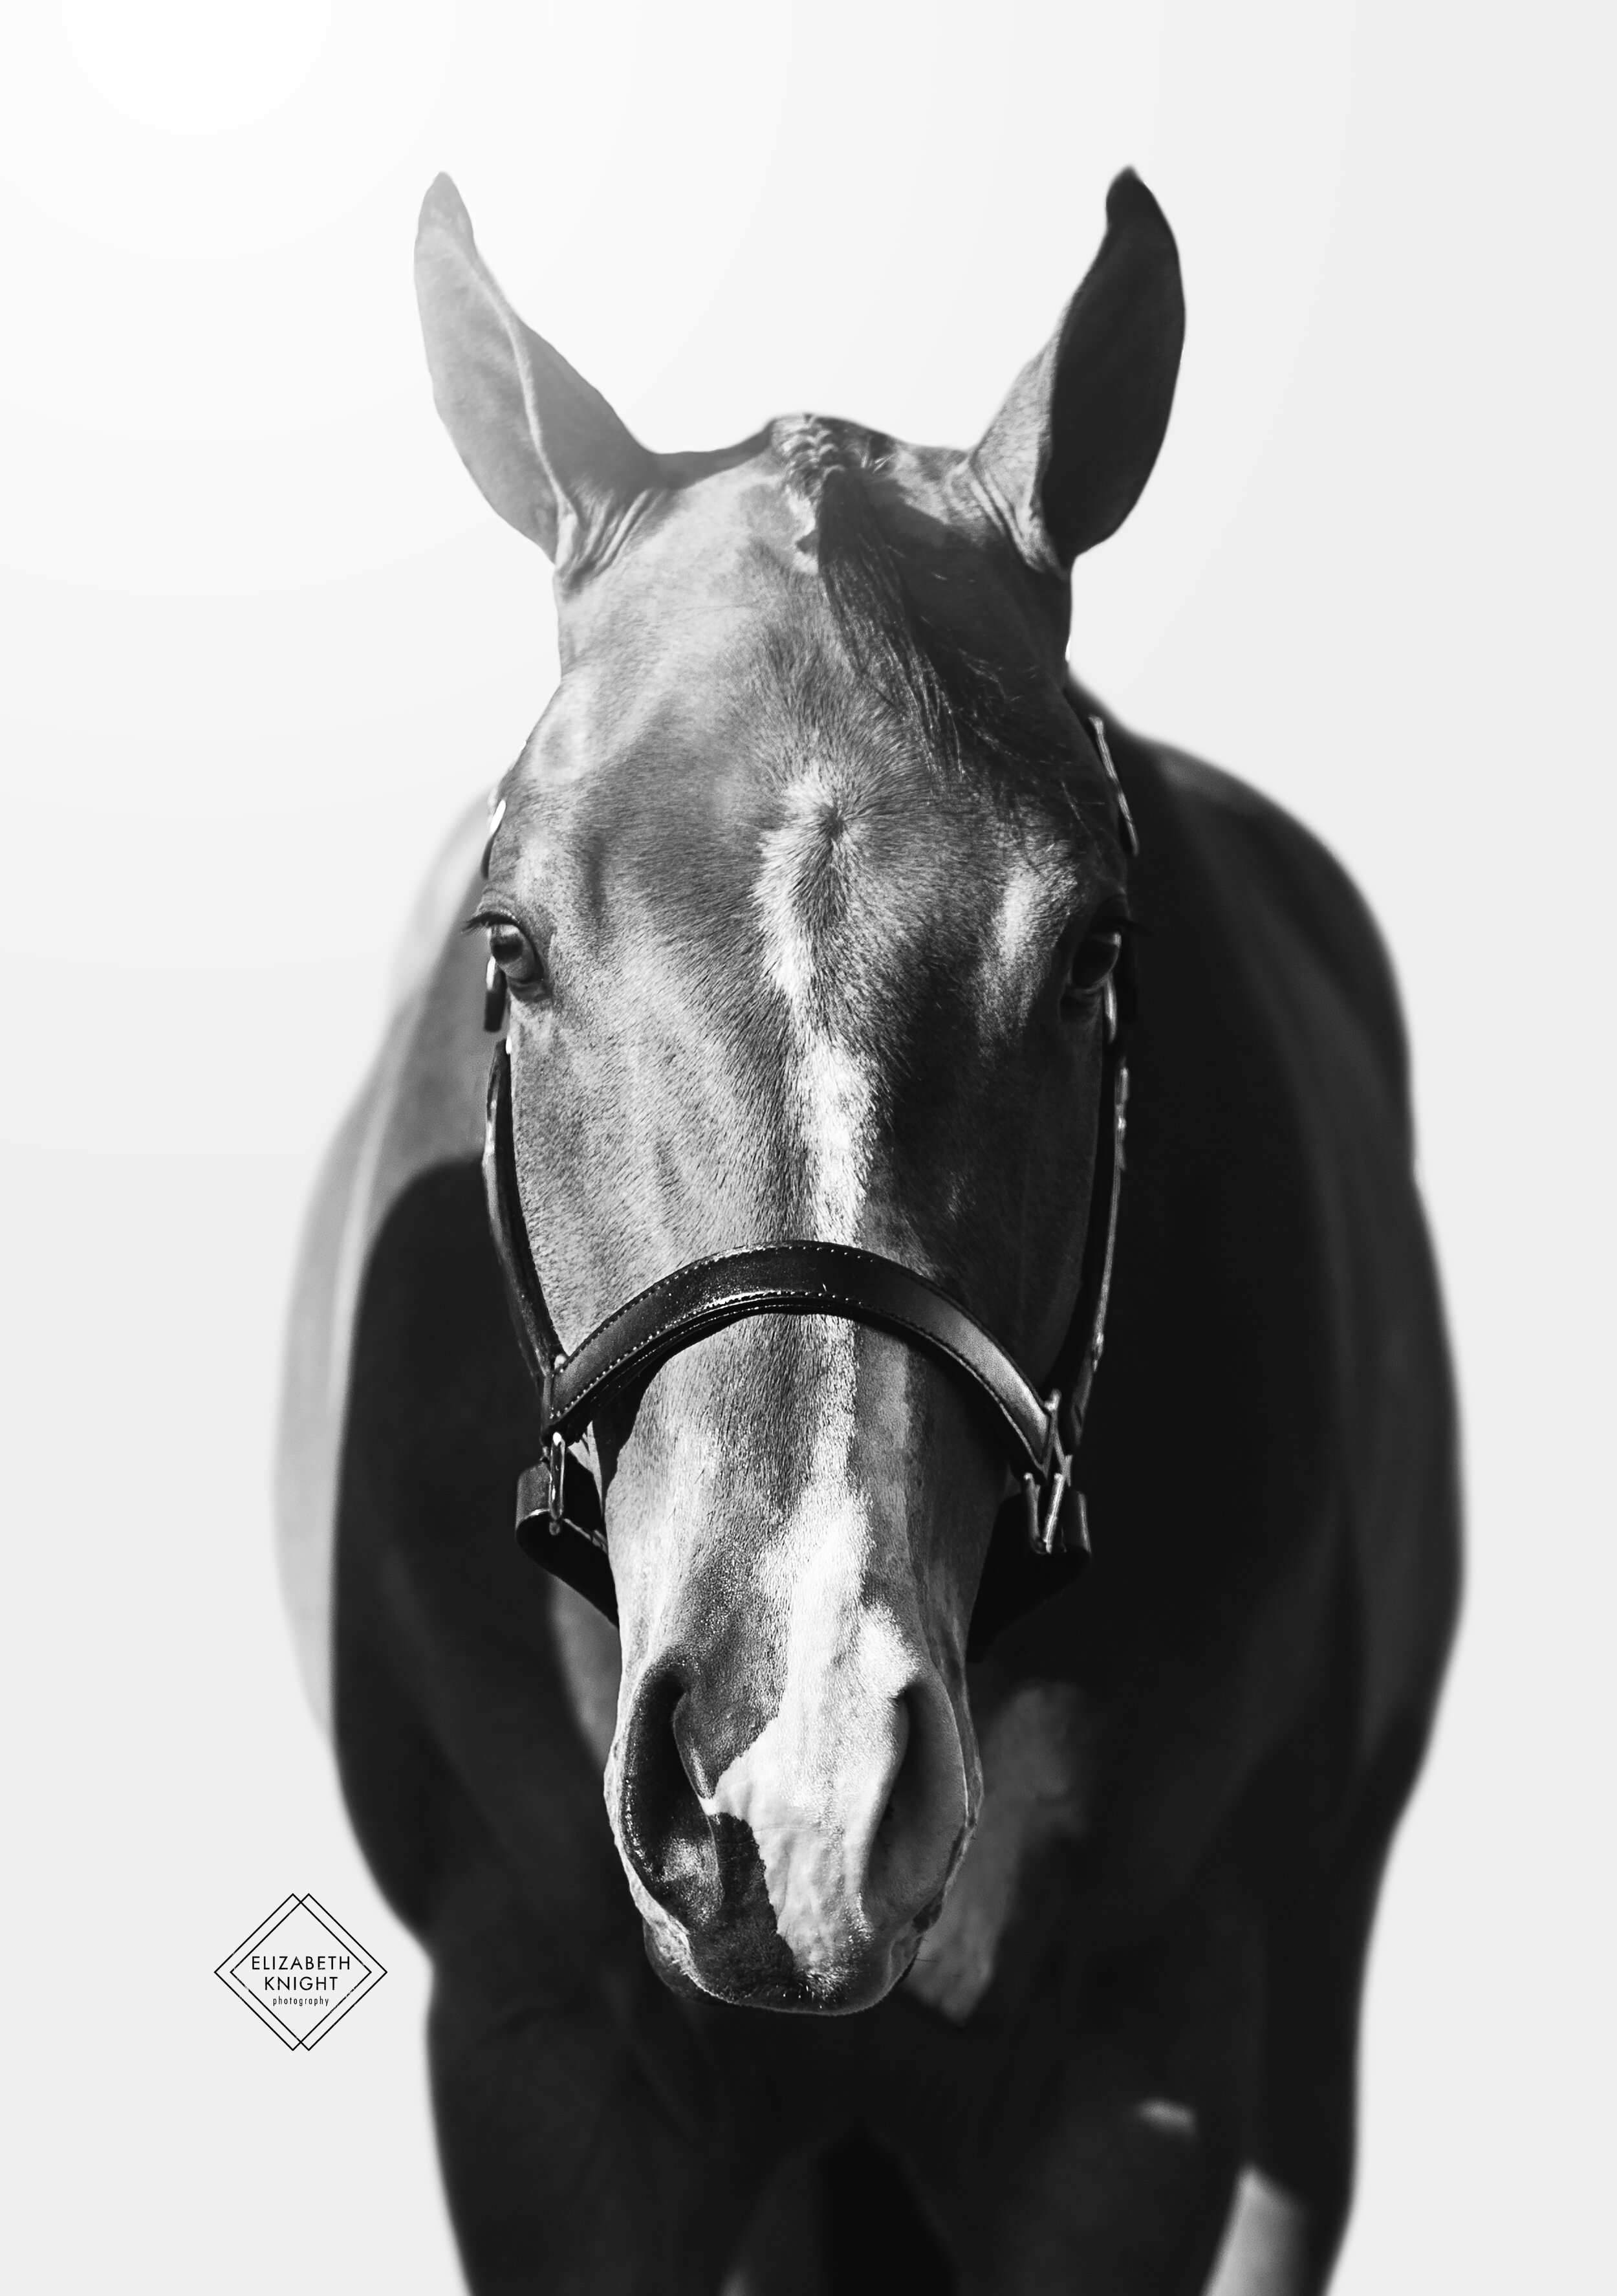
If you are going for dramatic light, using partial light is a great way to do it. Admittedly, I am not one to use this technique super often, as it doesn’t fit my style super well, but it can be a great way to accent certain parts of your subject, and often makes an excellent black and white edit. Here are a few examples of using partial light. They are a great opportunity to really play with your editing style, so I did!
To give you a visual, I made a graphic showing where you and your subject should stand in relation to the sun for each type of lighting:
Overcast Light
When the sun decides to hide behind the clouds, creating overcast light, you can really shoot in whatever direction you like, as the light will be nice and even. Many people actually prefer to shoot on an overcast day, as the light is often softened by the clouds, but enough sun gets through for it to be sufficiently light enough to get a great photo. Here are a few photos shot while it was overcast:
Just remember: light is a tool!
I encourage you to go outside and play with it! Horses are very forgiving subjects when it comes to light. They look amazing in any kind of light, so next time you head outside to take a photo or two, try using different light to create certain effects! Accentuate your horse’s shine with direct light, or play with the angles of his face with partial light. The possibilities are endless, and I would love to see what you do with it!
Next up: we will be discussing how to take stellar conformation shots of your horse for sales, ads, or just for fun! It seems simple, but there are many little details that matter!
See you soon!
- Liz


